From schools to workplaces to enterprises, these products can be considered industry standards. As a result, many proprietary fonts from Microsoft are becoming requirements for many workplaces and institutions, case in point, Times New Roman. Also read: How to download YouTube videos with VLC Media Player But we Linuxers don’t really get these proprietary fonts out of the box. So how do you get these Microsoft TrueType Fonts on Ubuntu? Well, in this post, we look at some of the available ways of getting this done.
Install Ubuntu Restricted Extras
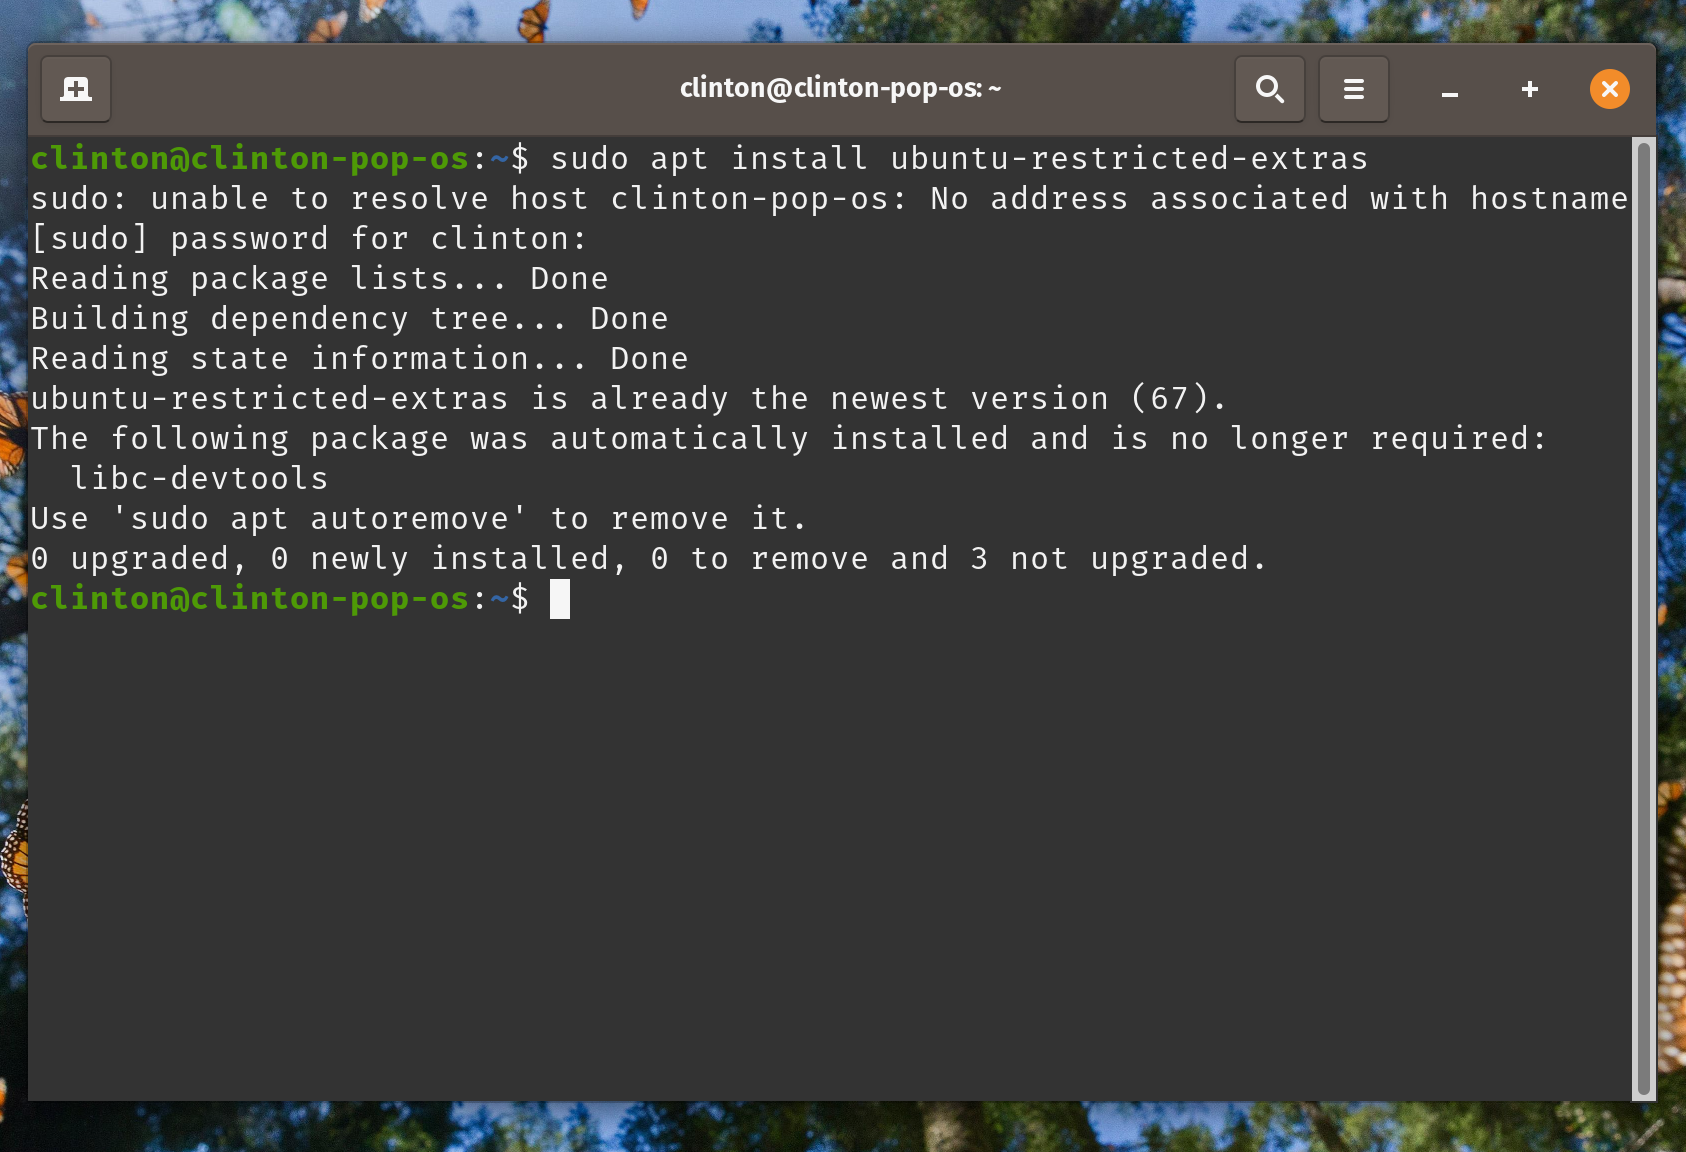
For many who are coming into the Linux world for the first time, installing Ubuntu Restricted Extras is part of the installation process. This installs proprietary software, including codecs and plugins that couldn’t be bundled with the open-source installer for regulatory or copyright reasons. This package is easy to install and also comes with Microsoft’s TrueType Fonts, so this should be the easiest way to install these fonts on your system. To do so, simply copy and paste the code below into your terminal. You will need to authorize this with your password. And that’s basically it. Your system should download this package and install it automatically. You might be asked to agree to the terms and conditions of using these fonts so just use the Tab key on your keyboard to select “Accept,” and that’s it.
Manually installing Microsoft TrueType fonts on Ubuntu
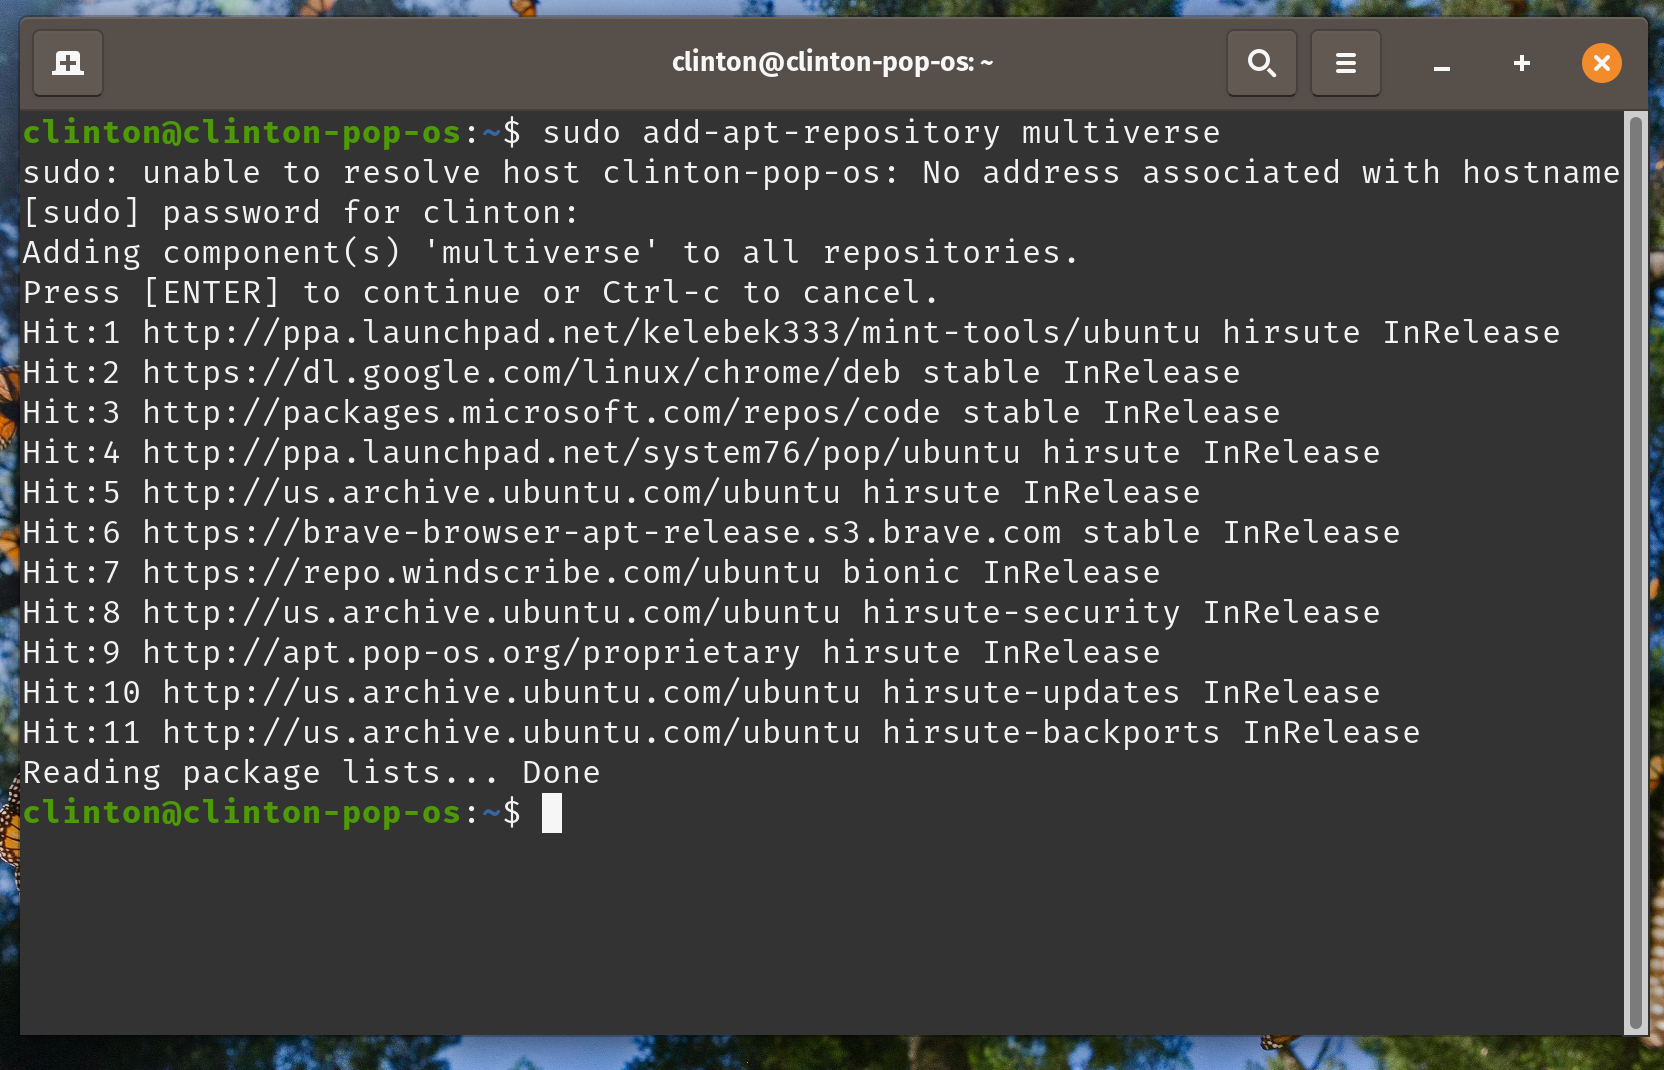
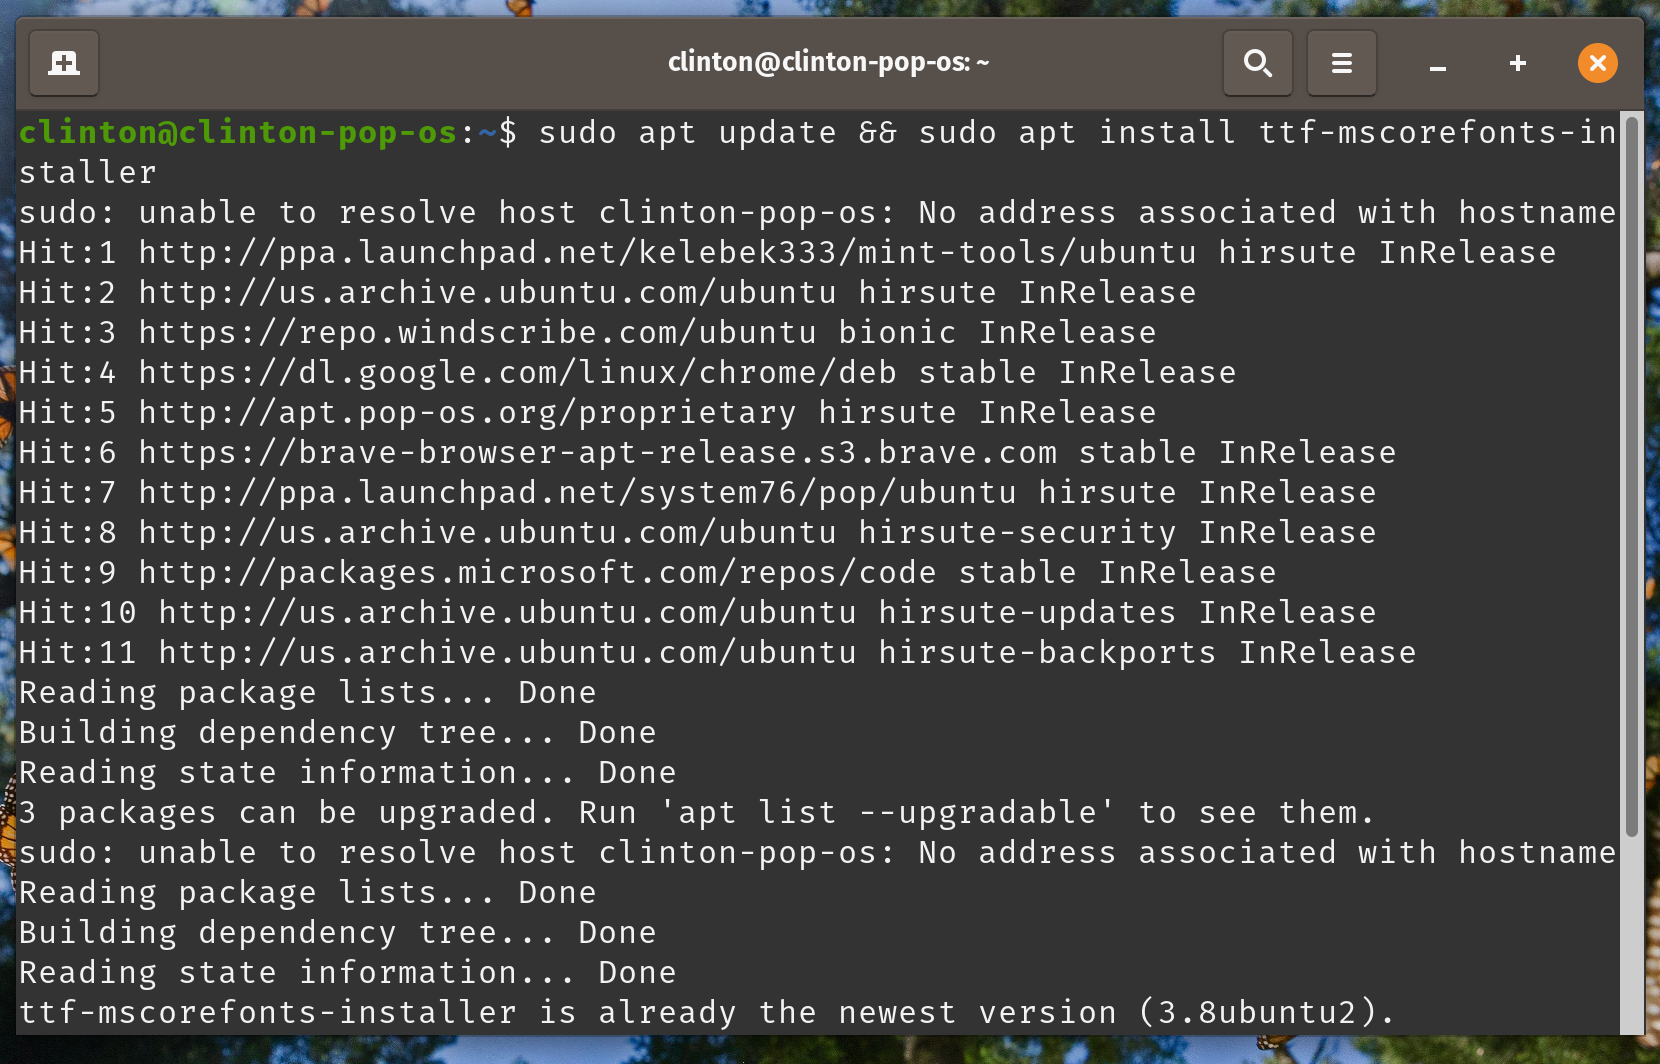
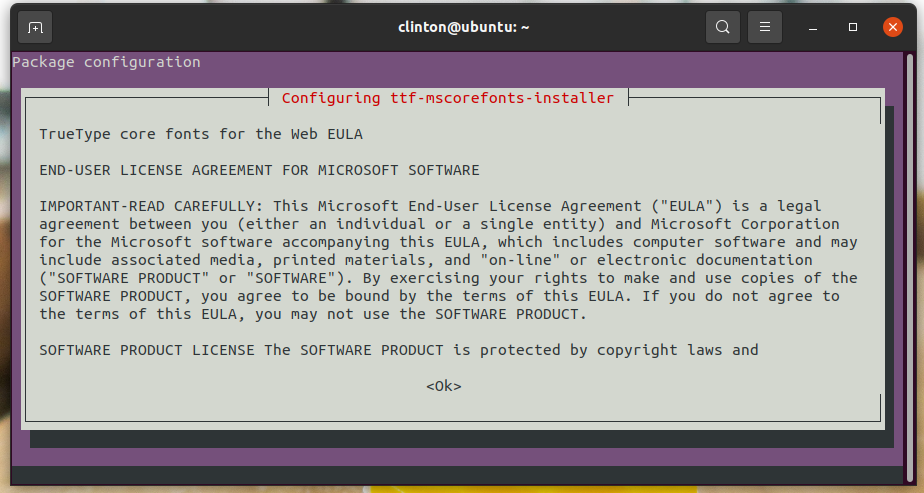
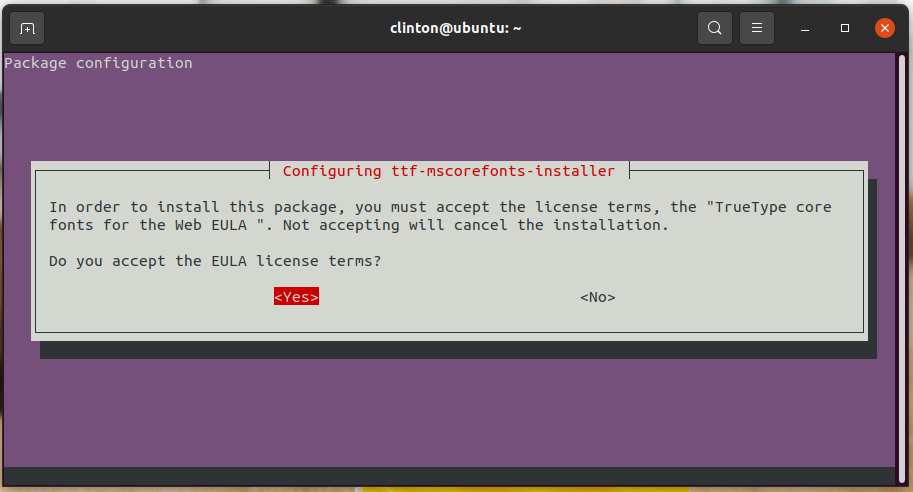
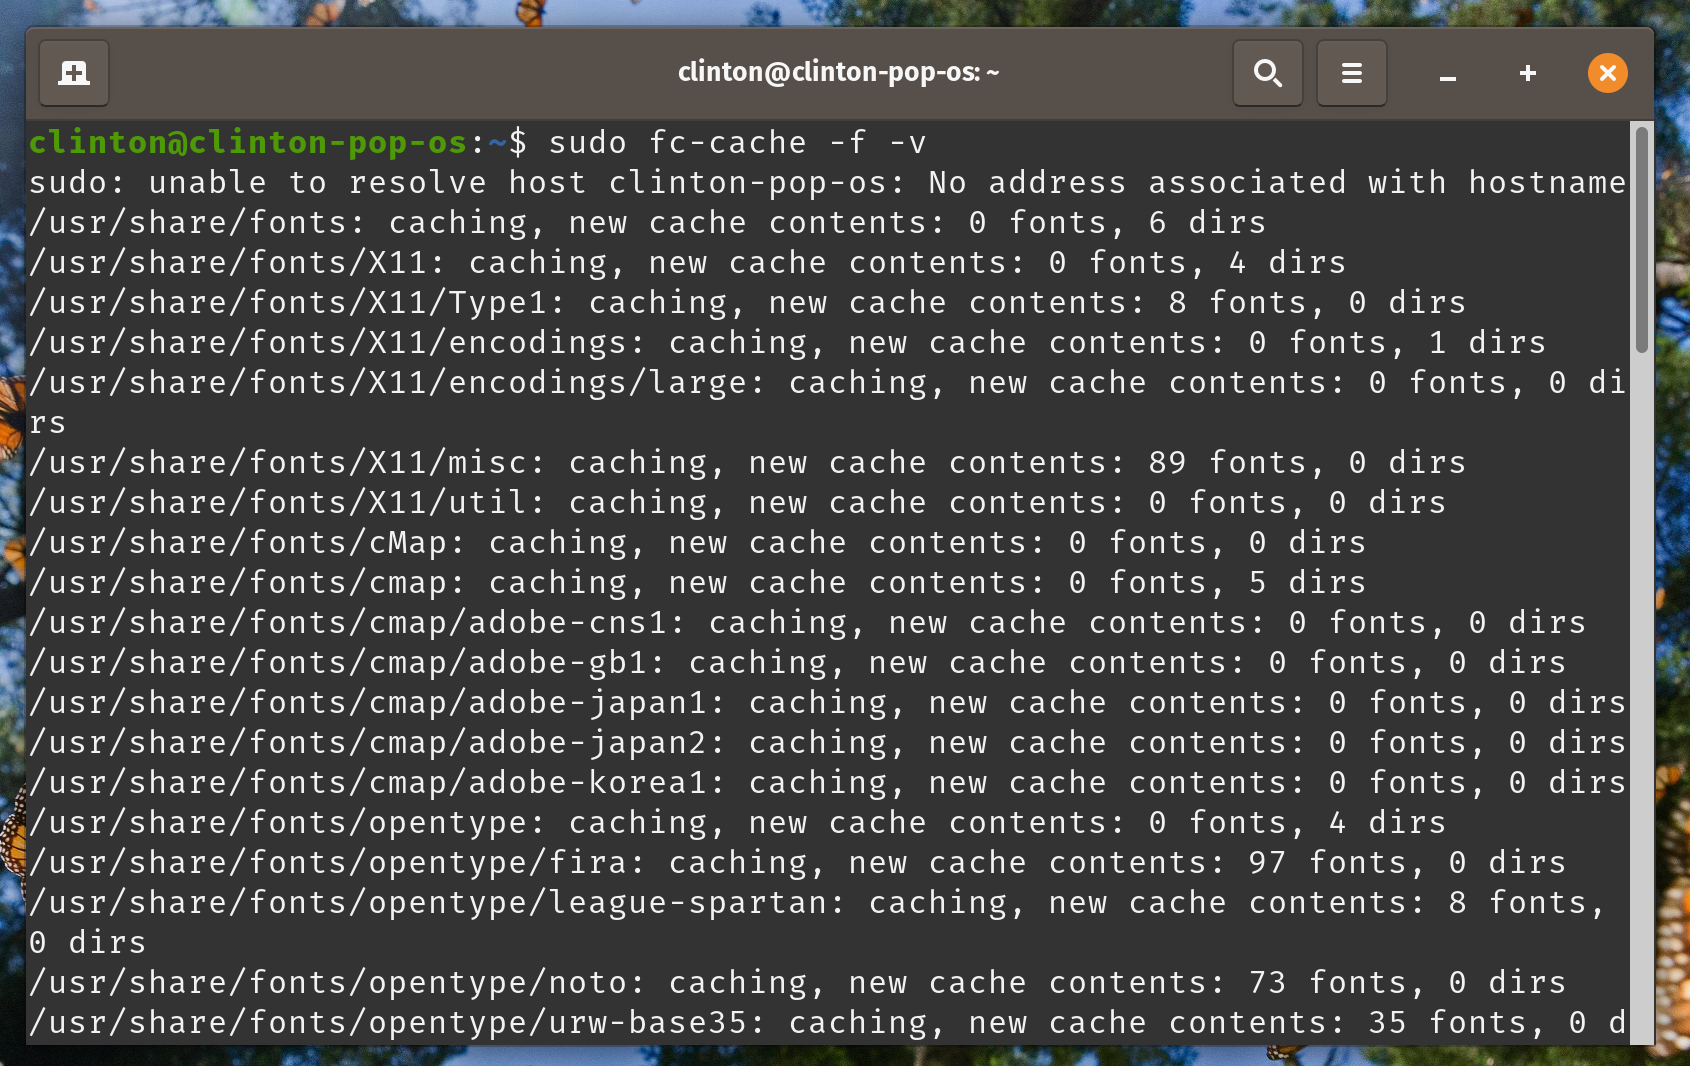
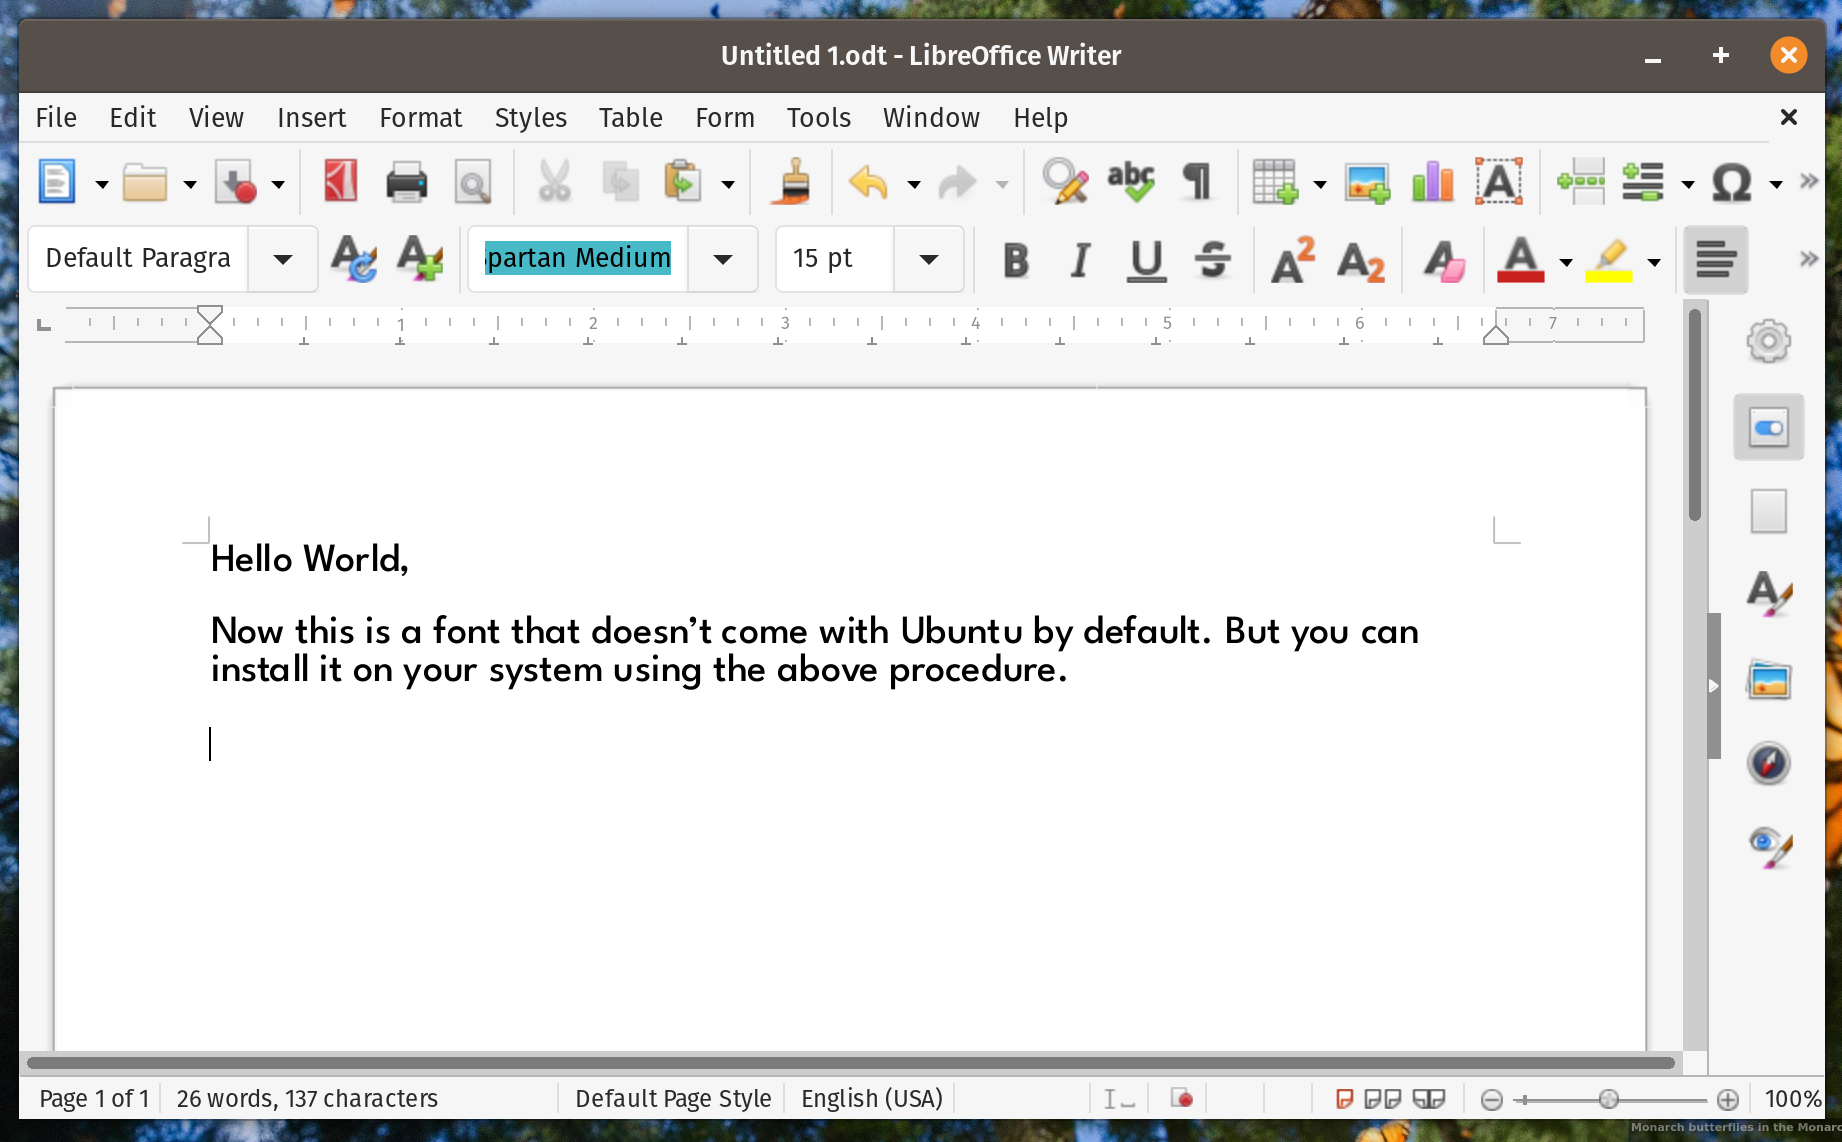
You might also want to manually install these fonts on your Ubuntu system using the following procedure. This is a little more convoluted as it involves adding a repository to your keyring before installation. To add the new repository, copy and paste the following into your terminal. Then, you can update your Ubuntu repository cache and install the Microsoft fonts like this: Again, I already have Microsoft TrueType fonts installed on my system, so I got notified of this. However, if you don’t have this installed, you should get a notification like the one shown below. You can navigate this page using the Tab key on your keyboard to select OK and then press enter when Microsoft’s end-user agreement appears. Click Yes to accept Microsoft’s agreement: When the installation is done, you should update the font cache using the command below: Now, you can run any app that uses these fonts, for example, LibreOffice or OnlyOffice, and you should see Microsoft’s proprietary fonts listed. And that is how to install Microsoft TrueType Fonts on Ubuntu and Ubuntu-based distros. Admittedly, it is a pretty straightforward process. Linux as a whole has come a long way over the past few years, and now, you can get just as much functionality and versatility, if not even more than you’d ever get from the major proprietary desktop operating systems.
Δ